RANSOM_HDDCRYPTOR.A
Windows


Threat Type: Trojan
Destructiveness: No
Encrypted: No
In the wild: Yes
OVERVIEW
This ransomware does not only target resources in network shares such as drives, folders, and files but locks the drive as well. It does this by combining both legitimate and malicious tools.
To get a one-glance comprehensive view of the behavior of this Trojan, refer to the Threat Diagram shown below.
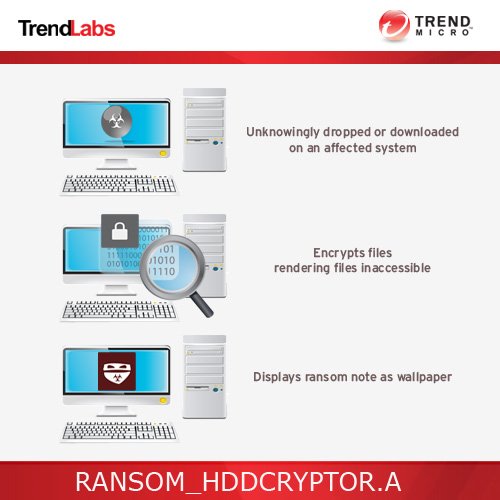
This Trojan arrives on a system as a file dropped by other malware or as a file downloaded unknowingly by users when visiting malicious sites.
TECHNICAL DETAILS
Arrival Details
This Trojan arrives on a system as a file dropped by other malware or as a file downloaded unknowingly by users when visiting malicious sites.
Installation
This Trojan drops the following files:
- %System Root%\DC22\dcapi.dll
- %System Root%\DC22\dccon.exe
- %System Root%\DC22\dcrypt.exe
- %System Root%\DC22\dcrypt.sys
- %System Root%\DC22\log_file.txt - Log of malware activities
- %System Root%\DC22\Mount.exe
- %System Root%\DC22\netpass.exe
- %System Root%\DC22\netuse.txt - used to store information about network users
- %System Root%\DC22\netpass.txt - used to store user passwords
(Note: %System Root% is the Windows root folder, where it usually is C:\ on all Windows operating system versions.)
It drops and executes the following files:
- %System Root%\DC22\dcinst.exe - with parameter: -setup
(Note: %System Root% is the Windows root folder, where it usually is C:\ on all Windows operating system versions.)
It adds the following processes:
- For Windows XP or Server 2003:
- %System%\cmd.exe /c net user /add mythbusters 123456
- %System%\cmd.exe /c net localgroup administrators mythbusters /add
- %System%\cmd.exe /c cmd /c net use >> c:\dc22\netuse.txt
- %System%\cmd.exe /c C:\DC22\netpass.exe /stab C:\DC22\netpass.txt
- For Windows Vista and above:
- %System%\cmd.exe schtasks /create /tn DefragmentService /TR \"cmd.exe /c net use >> c:\\dc22\\netuse.txt\" /sc DAILY
- %System%\cmd.exe schtasks /run /TN DefragmentService
- %System%\cmd.exe schtasks /delete /TN DefragmentService /F
(Note: %System% is the Windows system folder, where it usually is C:\Windows\System32 on all Windows operating system versions.)
Autostart Technique
This Trojan adds and runs the following services:
- Service Name: DefragmentService
Display Name: DefragmentService
Start Type: SERVICE_AUTO_START
Binary Pathname: {malware path}\{malware name}.exe 123141
Other Details
This Trojan does the following:
- Reboots the system
- After reboot, it will execute the following:
- %System Root%\DC22\Mount.exe 123141
- %System Root%\DC22\dccon.exe -boot -setmbr hd0
- %System Root%\DC22\dccon.exe -encrypt pt{0-9} -p
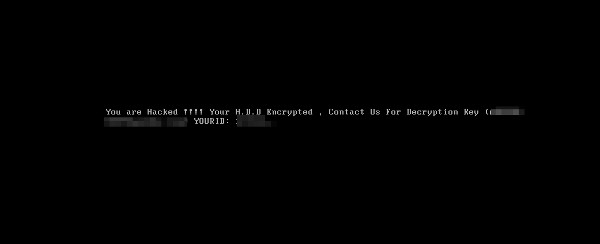
- It uses the tool %System Root%\DC22\dccon.exe to encrypt the disk drive and modify the Master Boot Record to display the ransom note.
- After encryption, it will execute the following command:
%System%\cmd.exe /C ping 1.1.1.1 -n 1 -w 3000 > Nul & sc delete DefragmentService & Del "{malware path}\{malware name}.exe" & taskkill /im Mount.exe & Del ""%System Root%\DC22\Mount.exe"" & Del ""%System Root%\DC22\netpass.txt"" & Del ""%System Root%\DC22\netuse.txt"" & Del ""%System Root%\DC22\netpass.exe"" & net user /del mythbusters & shutdown /f /r /t 0
(Note: %System Root% is the Windows root folder, where it usually is C:\ on all Windows operating system versions.. %System% is the Windows system folder, where it usually is C:\Windows\System32 on all Windows operating system versions.)
NOTES:
After another reboot, it displays the following ransom note at boot up:
SOLUTION
Step 1
Before doing any scans, Windows XP, Windows Vista, and Windows 7 users must disable System Restore to allow full scanning of their computers.
Step 2
Note that not all files, folders, and registry keys and entries are installed on your computer during this malware's/spyware's/grayware's execution. This may be due to incomplete installation or other operating system conditions. If you do not find the same files/folders/registry information, please proceed to the next step.
Step 3
Restart in Safe Mode
Step 4
Disable this malware service
- DefragmentService
Step 5
Search and delete this file
- %System Root%\DC22\dcapi.dll
- %System Root%\DC22\dccon.exe
- %System Root%\DC22\dcinst.exe
- %System Root%\DC22\dcrypt.exe
- %System Root%\DC22\dcrypt.sys
- %System Root%\DC22\log_file.txt
- %System Root%\DC22\Mount.exe
- %System Root%\DC22\netpass.exe
- %System Root%\DC22\netuse.txt
- %System Root%\DC22\netpass.txt
Step 6
Restart in normal mode and scan your computer with your Trend Micro product for files detected as RANSOM_HDDCRYPTOR.A. If the detected files have already been cleaned, deleted, or quarantined by your Trend Micro product, no further step is required. You may opt to simply delete the quarantined files. Please check this Knowledge Base page for more information.
Did this description help? Tell us how we did.